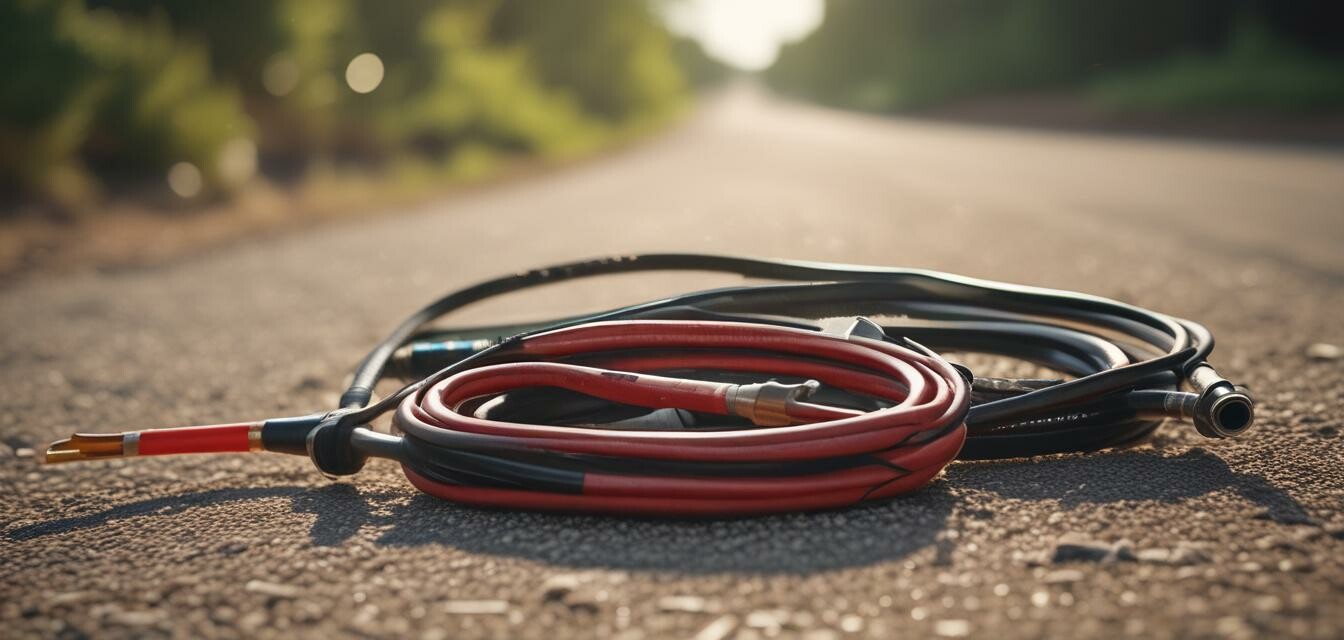
How to Properly Use Jumper Cables: A Step-by-Step Guide
Key Takeaways
- Ensure you have the right equipment: high-quality jumper cables.
- Follow the correct procedure to safely connect and disconnect cables.
- Always prioritize safety and common sense during the boosting process.
When you find yourself in an emergency situation with a dead battery, knowing how to use jumper cables can save you time and trouble. This guide will walk you through the steps to safely boost your vehicle's power using jumper cables. With the right tools and knowledge, you can handle this common issue with ease.
What You Need
- High-quality jumper cables
- Another vehicle with a functioning battery
- Safety gloves (optional)
- Safety glasses (optional)
Step-by-Step Instructions
1. Prepare Your Vehicle
Before you begin, park the vehicles close enough that the jumper cables can reach both batteries, but ensure they are not touching. Turn off both vehicles.
2. Connect the Jumper Cables
- Start with the functioning vehicle. Connect one end of the red (+) jumper cable to the positive terminal of its battery.
- Connect the other end of the red (+) jumper cable to the positive terminal of the dead battery.
- Now, take one end of the black (-) jumper cable and connect it to the negative terminal of the functioning battery.
- Finally, connect the other end of the black (-) jumper cable to an unpainted metal surface, away from the dead battery. This serves as a ground.
3. Start the Functioning Vehicle
Start the vehicle with the good battery and let it run for a minute or two to charge the dead battery.
4. Start the Dead Vehicle
Attempt to start the vehicle with the dead battery. If it doesn't start, wait a few more minutes and try again.
5. Disconnect the Jumper Cables
- Remove the black (-) cable from the metal surface on the dead vehicle first.
- Next, disconnect the black (-) cable from the functioning vehicle.
- Then, remove the red (+) cable from the functioning vehicle.
- Lastly, remove the red (+) cable from the previously dead battery.
Using Quality Jumper Cables
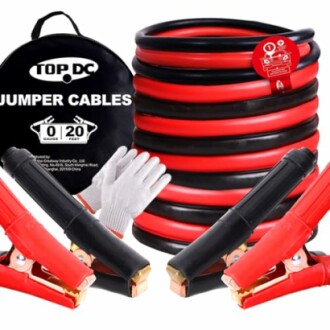
For optimal safety and performance, we recommend using high-quality jumper cables such as the TOPDC Jumper Cables Heavy Duty 0 Gauge. Here’s a quick overview of their features:
TOPDC Jumper Cables Heavy Duty 0 Gauge
Heavy duty jumper cables with a length of 20 feet, ideal for a range of vehicles, including trucks and SUVs.
Learn MoreSafety Tips
Beginners’ Safety Tips
- Always wear safety glasses and gloves when working with batteries.
- Ensure the vehicles are turned off before connecting the jumper cables.
- Check the cables for any damage before use.
- Never lean over the battery while making connections.
- If you see any corrosion on the terminals, clean it off with a wire brush before starting.
Conclusion
Now that you know how to properly use jumper cables, you can tackle the common problem of a dead battery with confidence. Remember to prioritize safety, follow each step carefully, and invest in quality equipment like the TOPDC Jumper Cables for reliable performance. With these tips at hand, you’ll be prepared for any battery-related emergencies on your adventures.
Pros
- Easy to follow instructions.
- Enhances safety and reliability.
- Using high-quality cables ensures optimal performance.
Cons
- Requires another vehicle for boosting.
- Can be complicated for complete beginners without prior guidance.

